Monday, August 25, 2008

Last Trip to AQS Nashville

A little hazy this morning after a whirlwind trip to the AQS Quilt Show in Nashville this past weekend. Each year we get up at 5am on Saturday and make the 4 hour drive up there for a full day of show and vendors and then usually pass out from exhaustion and vodka tonics at about 9:30 in a room at the Opryland Hotel. This year was extra special because Melissa's oldest daughter joined in for the first time. At nine years old she loves horses and loves to sew, so I think she was in heaven finding all different kinds of horse fabric. Plus, she pretty much got spoiled rotten being the token child, she was even given a free pair of scissors at the scissor booth (I had to pay 15 dollars for mine)! It pays to be a 9 year old quilter!


My aunt was with us too, but she was too busy buying every batik fabric she could find for me to snap a picture of her.


Here is my haul from all the vendors, I have already had it all out this morning to pet new fabrics. We found Anna Maria Horner Chocolate Lollipop fabric for $6 a yard, so a bunch of that had to come home with me, and I simply could not pass up the Moda Full Moon Forest fabrics after realizing that they are all full of hidden animals. I think that one is going to end up as a 7 year quilt for the oldest's upcoming birthday, mostly because I really want to keep that fabric around. I've already looked online to see if I can find more but no one seems to have it anymore. Oh, and the Alexander Henry Halloween Pin-Up girls are fantastic, I think they will end up as a tablecloth so that I really don't have to cut into them. It is very hard to concentrate while working from home with all that new fabric sitting upstairs calling my name!

Oops, I didn't even mention why it was our last trip, next year the show is moving to Knoxville, everyone decided the Opryland convention center was just too expensive, so we will be on to a new adventure there.

Thursday, August 21, 2008

Pants Tutorial

While making some pants for my oldest child just like the ones I made for the youngest, I documented the process to make a handy little tutorial. And well, I told Mel I would. And because I will eventually forget how I did it and have to look back at my own tutorial. So here ya go:

First, find a pair of pants that fit your child to use to trace a pattern. I traced onto some cardboard that I had, but you could use just large paper or newspaper. Here are the pants I used:


Fold them perfectly in half and align the inside seam along the right side of whatever you are tracing on and trace. Also mark where the left side of the pants ends. Then refold the pants with the opposite crotch seam sticking out and align the right side of the pants with the middle line you marked a second ago and trace the other side. I did it this way (instead of just flipping the pants over) because depending on the pants, sometimes the front crotch seam is a little shorter than the back crotch seam. This all may make more sense in pictures...


After you cut out your traced pattern it should look something like this. If you have your actual kid handy now is an excellent time to grab them and measure them, and write their measurements on the pattern piece (waist size, length from waist to where you would want various pant lengths to reach like capris or full length). Then you don't have to go and try to measure them in their sleep when you are putting elastic on their pants at 11:00 at night.

So now you can lay your customized pattern on your fabric to trace around it. If you want your pants to turn out exactly like the ones you traced, be sure to add a seam allowance and some extra at the bottom for hemming (if you want full length pants). You can see that I once again used an old shirt of mine, but you can also buy knit fabric, it just isn't as fun. Other fabrics would work too if you were making pants that aren't as tight fitting, I just haven't tried it yet. You can also see that my pattern does not fit on the shirt I am using. That's fine because I am going to add a spiffy ruffle to these to make them the right length. Oh, you also want to have two layers of fabric stacked up, and if you fabric has a wrong side and a right side make sure your wrong sides are together (unless you turned your original pants inside out when you traced them, then you want right sides together). Anyway, here is tracing and the cut out fabric...


Now, if you had enough fabric to start with for your pants to be the right length, then you could just hem them at this point and then skip ahead to sewing the seams. But I am going to add a ruffle. I cut out some cute fabric the length I want the ruffle plus extra for hemming and a seam allowance. I just cut a strip the full width of the fabric off the bolt ( I wasn't sure if this was going to be wide enough for a ruffle for both legs at first, but I ended up making the ruffle a little "looser" to fit).


First I hemmed it. I ironed a half inch fold...

and then folded it over another half inch and ironed and pinned...


then sewed near the edge to secure it.


Now comes the ruffle magic! Set your machine on a long stitch length (my Bernina has an actual basting stitch, see, there it is! Have I mentioned lately how much I love my Bernina?)


Then just sew along the unhemmed edge (make sure you do not back stitch at beginning and end). Now you grab the back thread (the bobbin thread) and hold it tight while you gently slide the fabric along the thread. You have to gently work it towards the middle and then start on the other side and work it towards the middle. Lay it along the bottom edge of your pants from time to time to see if you have it the right length. When it is just right pin it and sew it on.


I used a walking foot, you have to just smush it all under there. Also, put the knit fabric on top and try not to stretch it out, just gently push it through.


Then it looks like this...


Repeat for the other leg and then lay your two pieces on top of each other, right sides together.

You then sew along the back crotch seam...


Then the front crotch seam...


Ta Da!


Now, here is the magic part... grab the middle of the top layer at the waist and pull up, this becomes one side of the pants, reflatten so that the pants look like, well, pants!


Now your crotch seams are in the middle and you just have to sew from the bottom of one leg, to the middle, and back down the other leg...

and you will have pants!


Finally, decide how you want to finish the top of the pants. The last pair I put a strip of fabric folded over the top and inserted elastic, this pair doesn't actually have elastic in them yet because I can't get them off of my child, but I think I am just going to fold the top over, sew it and put in elastic. Really, I want to try Fold Over Elastic like Angry Chicken uses on her five minute skirt, but I haven't made it to Joann's yet to get some. So now you know how to go forth and make pants! Please leave me a link in the comments if you make any!

More Pants and Why My Neighbors Think I Am Off My Rocker

A second pair of sucessful pants! It is always nice to know the first time you make something isn't just a fluke. These turned out even better than the first pair I think.


And they just happen to match a certain skirt, if you are in to the whole super ruffle-y boutique-y look, which apparently this child is all about as of five minutes ago.
I tried to convince her to let me shorten the ruffles until they are more like a trim (like the next picture) but she is having none of it. She says I can make her another pair to be capris with a short ruffle. Sigh.
These pants were made from an old shirt, so after I was done I was looking at the sleeves I had whacked off the shirt trying to think of something to do with them, leg warmers maybe? Then it came to me...
Lucy the webkinz deer happened to be sitting on my sewing table in a cute purple webkinz-wear skirt, so I chopped off the end of a sleeve and whipped up my own skirt version. The youngest child took Lucy to the bus stop and told all the other moms that I made Lucy's skirt. She was so proud. And yes, bus stop ladies, I spent my day making a reindeer a skirt.

Tuesday, August 19, 2008

Pants!


I made pants! For some reason I find this to be extremely clever of me. Maybe because they are the first pants I have ever made. Or maybe because they are so ridiculously easy to make and yet they actually turn out looking like pants. But really, best of all, and the reason I keep walking around the house randomly shouting, "yahoo! free!" is because up until this afternoon the main part of these pants was living a life as an old knit shirt in my giveaway Goodwill pile. Yep, I chopped up a shirt that I no longer liked and now the youngest child has spiffy new pants. They were originally meant to be pajama pants, but she says she is wearing them to school tomorrow, so there ya go. There is another reason I am thrilled. I hate, hate, hate buying pajamas. They are always ridiculously expensive for what you get and they are outgrown so fast. So, Amanda Soule's book was the inspiration for these. I added a spiffy cuff type thing and they also have a little band of the cuff fabric at the top too (around the elastic). The next pair may have more of a ruffle-y cuff, I think the cuff on this first attempt turned out a little narrow. Ok, so it isn't really a cuff because it isn't folded up, but hey, it could be, so that is what I am calling it. By now I have typed cuff way too many times, it doesn't even seem like it is a real word anymore. Now that I know how easy pants are I will be trying all sorts of crazy stuff (maybe even a real functioning cuff!). I know, I'm a wild woman.

Thursday, August 14, 2008

This is... something I love that someone made for me


It is hard to choose something over all the fantastic things that my children have made for me, but this quilt was around long before they were and it is definitley something that I love. My mom made this quilt for me for my 16th birthday, I think it was the second quilt she ever made (the first being the blue couch one, I'm sure she will correct me if I am wrong). She did not start out as a quilter, but she always enjoyed sewing and would often make clothes for me and herself. So, when she decided to make a couple of quilts, she used up scraps that she had already. I can look at this quilt and pick out fabrics from clothes I had as a child and clothes that she wore and other random things that she made, and childhood memories are attached to them all. I loved the quilt when I received it at 16, it went off with me to college and was on my couch and well used for years and years. Now it is put away, all her hand quilting that was in each block has come out from frequent washing (I was a teenager, I just threw it in the wash) and many seams need a bit of repair, but looking at it now and then brings back great memories and is also a reminder of why I am so drawn to this crazy quilting thing.

Tuesday, August 12, 2008

Completed: The Idaho Scarf


Such a delightful project from start to finish. The yarn was a dream (Chunky Misti Alpaca from Isabel's in Ketchum, Idaho), the pattern kept my mind busy and it was quick due to the thick yarn. The scarf has a nice heft to it and drapes beautifully. It is super warm, I can see me throwing it on in the winter by itself, no jacket needed (I'm not much of a jacket person anyway). And as icing on the cake, I got to add luscious fringe to the ends, just another excuse to pet that baby alpaca yarn. The pattern was The Purl Scarf from Last-Minute Knitted Gifts. Next I have cast on for a shawl that I already had the yarn for, but I am starting to think about Christmas projects for certain little girls that keep begging for scarves of their own.


Monday, August 11, 2008

First Day


Ahh, the smell of new pencils and composition notebooks... I can never resist the composition notebooks, I buy myself a new one each fall too. This year mine is green and ready for lots of lists and random idea sketches. The girls headed out into the world this morning to lead their own separate lives again until next May. It was awfully quiet around here until they returned with stories about their day, old friends and new possibilities. Little tornadoes needing a snack, exploding in a flurry of papers, inviting over friends for some hurried play before dinner and preparations for another day on their own, out in the wide world. Their leaving feels decadent for a bit, but the world seems to shift slightly askew, and by the time they return I'm relieved that they have come to set it straight again.
(I love this picture with my third child in the window, luckily he is homeschooled)

Wednesday, August 6, 2008

Quilt Guild - Marquetta Johnson

Monday night at The Chattahochee Evening Stars' Quilt Guild meeting we had the pleasure of fabric artist Marquetta Johnson visiting with us. She held a workshop to teach us her technique for "no mess" fabric dyeing. Well, no mess looks something like this...

(Melissa and Kathy, aka the mom, hard at work)

but I suppose it is less messy than other methods of fabric dyeing. Now, when Marquetta was introduced our guild vice president spoke of her personal relationship with her, but she falied to mention that Marquetta Johnson has her fiber art on display at The Coca Cola Corporation, The Atlanta Airport and even at the Department of the Interior in Washington among other places. She has been on HGTV and PBS and frequently published. One would never know while listening to her talk and teach that she is so renowned because she is just pleasantly chatty, friendly and downright funny. How she managed to get forty or so women all moving through the same steps to get our fabric dyed in a pretty short time slot was nothing short of amazing (much like herding cats I would think). Anytime anyone expressed doubts as to if what they were doing was correct she would just exclaim "You just wait, that is going to turn out soooo beautiful!".
She uses Createx Air Brush Colors for Fabric to do her dyes, applied with a squirt bottle after some fancy fabric folding and rubber banding. I love how my fabrics turned out but of course have tons of other ideas for things to do with this technique. Here are my samples set out to dry and the final result, followed by some links to Marquetta Johnson's website gallery and work.

Marquetta Johnson's Website

Her International Fellows award page (where you can also click on her biography)

And here is her book on Amazon

Tuesday, August 5, 2008

A Self Portrait of Your Feet


Love, love, love this week's Superhero Photo Challenge over on Shutter Sisters. We are always taking pictures of feet around here and the oldest child checking mine out yesterday at the pool made me think of the challenge. Also, my destroyed-by-pools pedicure just screams summer to me.
Click the picture to make it nice and big.

This is... My Favorite Refrigerator Magnet


Ok, so this is two magnets, but I just really can't choose when it comes to these. Last year the girls' schools did a fundraiser where they turn their art into all kinds of random stuff like tote bags and coffee mugs and of course magnets. Since the proceeds specifically went to the art department, which I think is the most worthy place for my funds to go, I ordered some things for stocking stuffers and got a magnet of each piece of artwork for me. They turned out really cute and I think this a great way to display favorite kid art.

Thanks Melissa for the topic.

Ok, so it is my turn to pick next week's topic, I'm going to go with... "this is something I love that someone made for me", in honor of this supposedly being a crafty type blog. Pictures should be posted by next Wednesday the 13th.

Christy is tagged to pick the next "this is..."
Other blogs playing this round of this is are (besides Mel and Christy above):

Monday, August 4, 2008

Dining Room Re-Do

I have been focusing my crafting efforts this past week into incorporating the Anna Maria Horner Drawing Room fabrics into my dining room as much as possible. You already saw my little candle covers with a sneak peak at the canvases on the wall... here you can see all three of the canvases stretched with fabric (the fabric on each side is from her new coordinating Garden Party line) and my new place mats that I made yesterday.
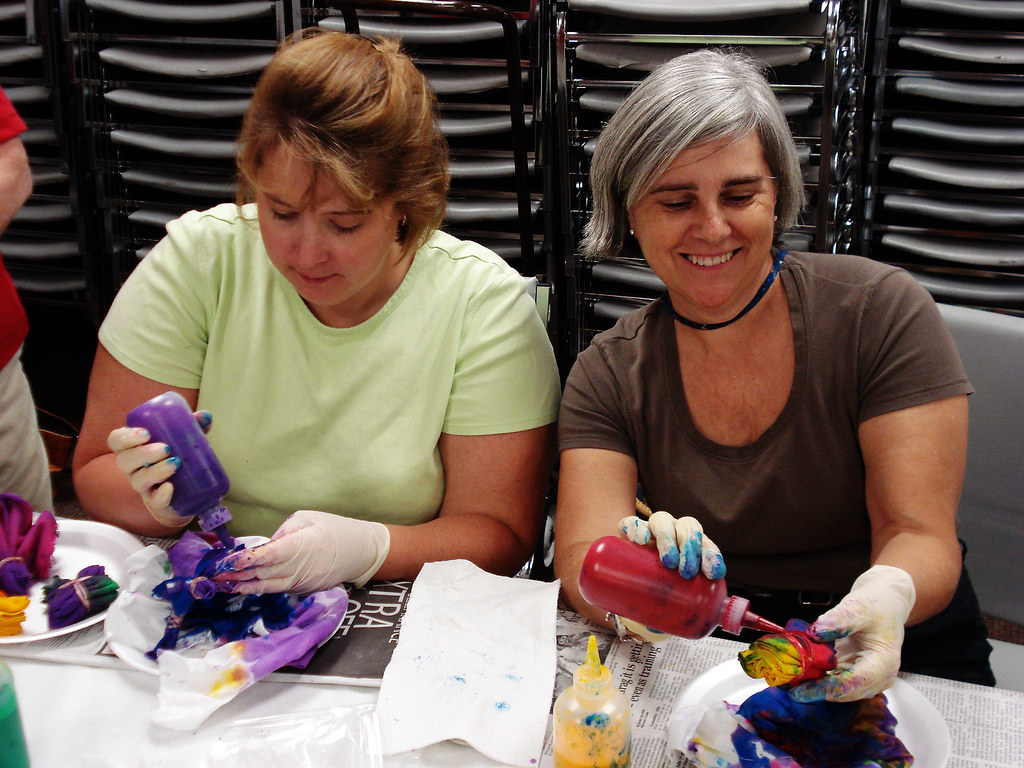
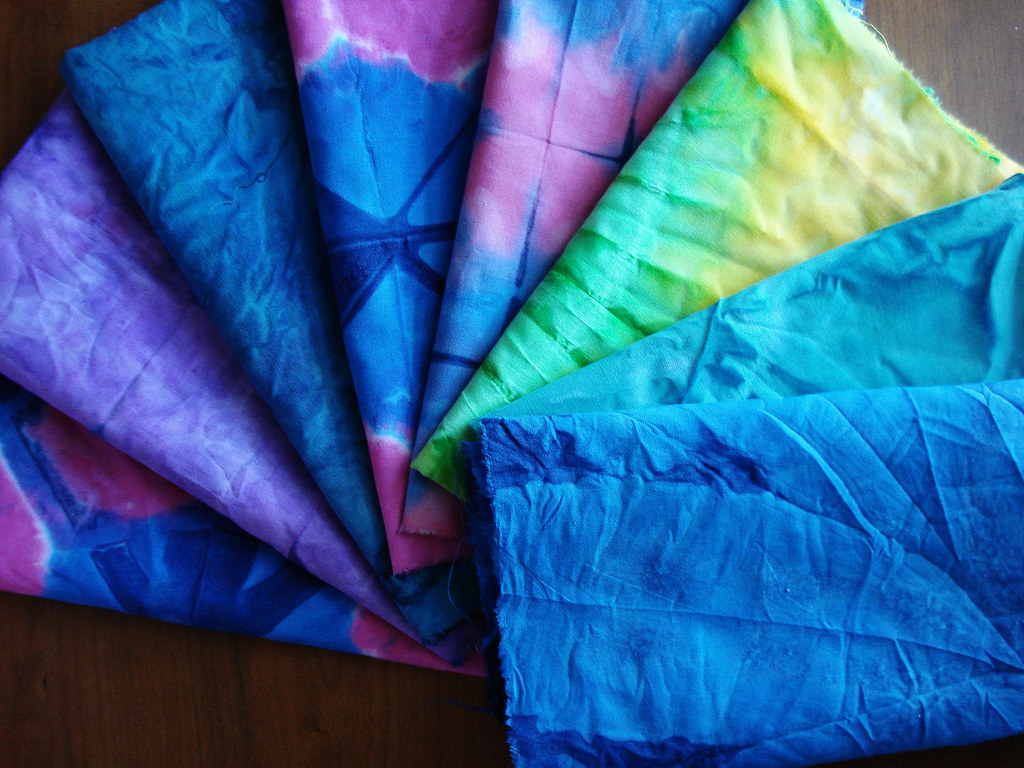
I really love how the fabric brightens up that wall, and I didn't have to spend months sewing a wall hanging, took about an hour to do all three. See this odd looking chair in the corner? I have two of these that are going to be my next victims. They will be painted to match that fantastic turquoise color in the fabrics.
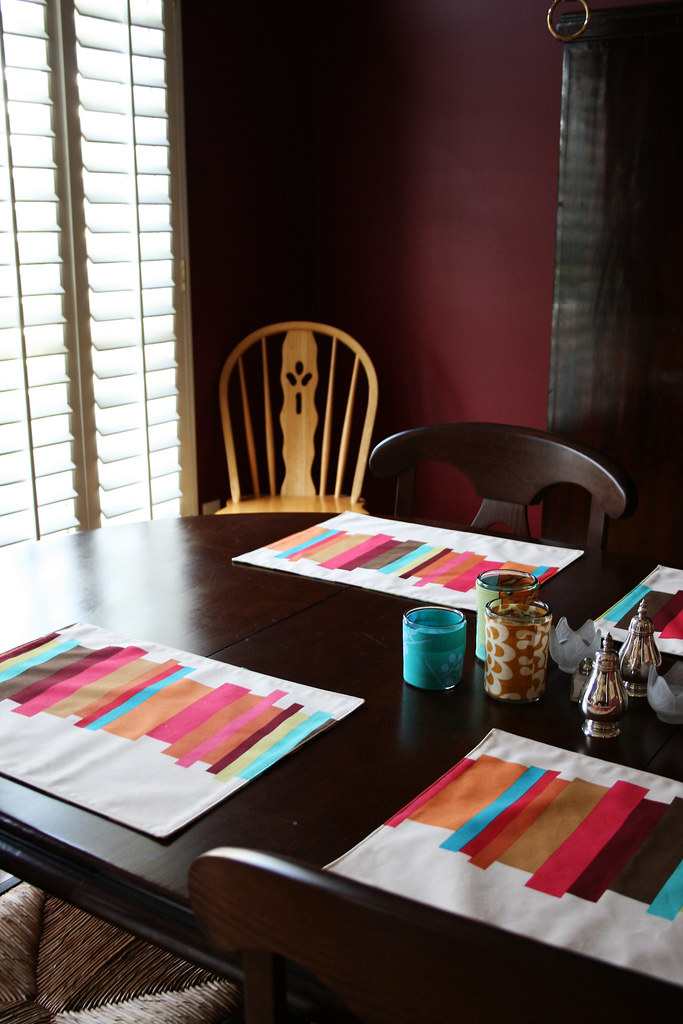
Then if I could just find a rug I like and a new chandelier I like then I could stop obsessing over this room. Oh, and some kind of arty something for either side of that big cabinet. Of course by the time I do all that I will be obsessed over some other line of fabrics...

Friday, August 1, 2008

Inchie Challenge

August theme: Summer Memories

Guidelines: The challenge is to create three "inchies" or fabric postcards (or any combination of the two as long as you end up with three pieces) each month based on that month's theme. The size dimensions are at the largest 3X5 and the smallest 1X1. You may use fabric and any type of embellishment that blows your skirt up. Your personal project should be kept under wraps until you post it on your blog or flickr sometime during the last five days of the month. Leave a comment on this post if you want to play, and when you post your challenge at the end of the month so everyone can link to you. Current participants are of course myself, Melissa, and Kathy.

Don't know what an inchie is or need ideas? (also called ATCs - Artist Trading Cards) check out this great group on flickr with lots of pictures.

For more ideas see:

http://www.sewfunpatterns.com/inchies.html

http://arleebarr.squarespace.com/tutorialstechniquesprojects/2008/2/5/making-fabric-atcs-and-postcards-arlee-style.html

And a fantastic book for ideas is Creative Quilting - The Journal Quilt Project by Karey Bresenhan

Now join in and go be creative!