
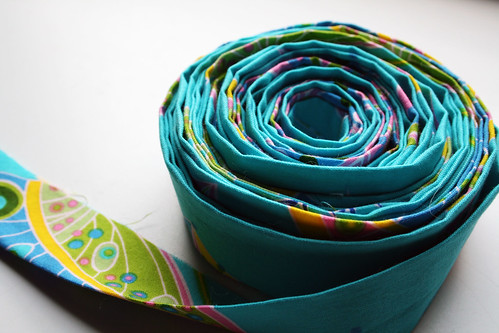
I wasn't sure I was going to make my weekend goal of finishing the butterfly quilt after carousing at Melissa's 40th birthday party last night, but this afternoon I rallied! I shook off the margarita haze, blasted some tunes (thanks to Jay's suggestion) and tackled the binding. At quilt camp my mom convinced me that I should try machine sewing my binding, and that really helped me complete the binding quickly also. To machine sew the binding you do the first side as usual, and then use a serpentine stitch to do the other side instead of sewing it by hand. I appreciate the speediness of it, and I think it did well on this quilt that I have always planned on being a picnic quilt, but I don't think I would use it on anything I had spent a lot of time on. Would be good for quick baby quilts too.
 Specs:
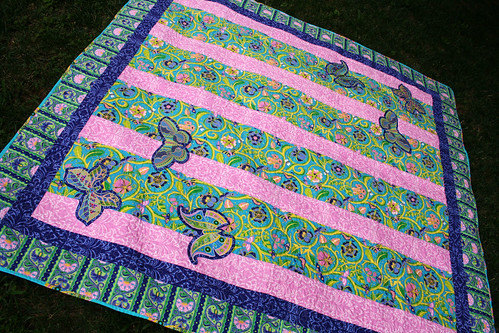
Jane Sassaman's Butterfly Garden Fabrics
71" X 73"
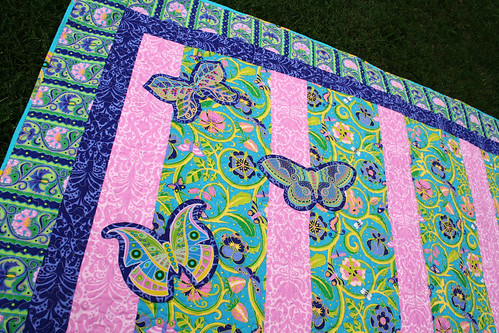
Machine Appliqued Butterflies
Machine Pieced and Freemotion Quilted

13 comments:
Can't believe it is finished. That quilt has a life of it's own and can tell a few stories over the years! Not pointing any fingers, I have some lurking that have been around much longer. I do think it is to pretty for a picnic quilt.
Mom
My mom machine binds every one of her quilts, too. I have done it, but I prefer the look of hand bound better, plus I kind of like doing it.
Your quilt is darling! I love that fabric!
It's lovely! the butterflies seem to float right off and the border suits it perfectly! lovely!
Yeah! - It's finished. And a fabulous job I might add. I agree with mom, too pretty for a picnic quilt.
Audrey
So pretty and so proud of the machine sewn binding.
The fabrics are beautiful! Thanks for sharing...love to see what you are working on. Maybe one of these days I will try another quilt or take out the one hiding in the closet and finish it :)
Nikki
(*squeal*) Go'geous!
do you mind showing a front and back view of your binding? I'm a newbie and don't know what a serpentine stitch looks like. My sewing machine manual wasn't any help. Thanks! BTW, it's a beautiful quilt!
So pretty! I love this quilt!
I was just catching up on your blog and wondered what "serpentine" stitching is for binding by machine. I just finished binding a lap quilt to give away for an auction and would have loved to save time by not hand-binding. Thanks!
Chris
Hi Chris! I would have to check my sewing machine manual to see what the stitch is really called, but it is on most machines and just looks like a repeating S. To use it to do binding on your machine you just lenghten the stitch and sew along your binding edge where half of the "S" catches the edge of the binding and then sews half onto the quilt. Does that make sense at all? Would a video help? Basically you just use the stitch to sew along the edge of the binding instead of hand sewing. It ends up being more of a decorative stitch look opposed to trying to hide your stitches when hand sewing. I hope that helps, just let me know if you have more questions!
I just noticed Rita's comment too, I have been so neglectful of blog comments! I will work on a little tutorial for you guys.
Thanks Kate! Even just a close-up pic of the stitch and how lies across the seam would be good. I love experimenting with decorative stitches but never thought of trying it on binding. By the time you get that far along, it's extra-scary trying something new ;-)
yes, a pic would be just great! I'd love to learn how to make my bindings go much smoother. thanks!
Post a Comment